Install and Configure NGINX Agent
This section lists the prerequisites for installing and configuring NGINX Agent. Follow the steps below to complete the requirements:
-
F5 NGINX Management Suite is installed on a server.
When installing and configuring NGINX Management Suite, take note of the fully qualified domain name (FQDN) and gRPC port number. You’ll need this information to properly configure NGINX Agent to communicate with NGINX Management Suite. -
Make sure NGINX is running on your instance:
ps aux | grep nginx -
If a previous version of NGINX Agent was installed, you must stop the current NGINX Agent process before running the NGINX Agent install script. To check if any NGINX Agent processes are running, run the following command:
ps aux | grep nginx-agent -
If a previous version of NGINX Agent was installed, make sure to uninstall
nginx-agent-selinuxbefore running the NGINX Agent install script. To see ifnginx_agent_selinuxis installed, run the following command:rpm -qa | grep nginx_agent_selinuxdpkg -s nginx_agent_selinux -
Review the Technical Specifications guide for system requirements.
You can choose one of the following two methods to install NGINX Agent on your data plane host:
- Install via the NGINX Management Suite API Gateway
- Install from packages downloaded from MyF5 Customer Portal or from your NGINX/F5 sales team.
You can also install NGINX Agent in the following ways:
- From the GitHub releases
- From the NGINX Repository
- From the NGINX Plus Repository.
Make suregpgis installed on your system before continuing. You can install NGINX Agent using command-line tools likecurlorwget.
If your NGINX Instance Manager host doesn’t use valid TLS certificates, you can use the insecure flags to bypass verification. Here are some example commands:
-
Secure:
curl https://<NIM_FQDN>/install/nginx-agent | sudo sh -
Insecure:
curl --insecure https://<NIM_FQDN>/install/nginx-agent | sudo sh
To add the instance to a specific instance group during installation, use the --instance-group (or -g) flag:
curl https://<NIM_FQDN>/install/nginx-agent -o install.sh
chmod u+x install.sh
sudo ./install.sh --instance-group <instance group>
By default, the install script uses a secure connection to download packages. If it can’t establish one, it falls back to an insecure connection and logs this message:
Warning: An insecure connection will be used during this nginx-agent installationTo enforce a secure connection, set the --skip-verify flag to false:
curl https://<NIM_FQDN>/install/nginx-agent -o install.sh
chmod u+x install.sh
sudo ./install.sh --skip-verify false-
Secure:
wget https://<NIM_FQDN>/install/nginx-agent -O - | sudo sh -s --skip-verify false -
Insecure:
wget --no-check-certificate https://<NIM_FQDN>/install/nginx-agent -O - | sudo sh
To add your instance to a group during installation, use the --instance-group (or -g) flag:
wget https://<NIM_FQDN>/install/nginx-agent -O install.sh
chmod u+x install.sh
sudo ./install.sh --instance-group <instance group>Run the following command to enable and start the NGINX Agent service:
sudo systemctl enable nginx-agent --nowRun the following command on your data plane to verify that the NGINX Agent process is running:
ps aux | grep nginx-agentYou should see output that looks similar to the following example:
root 293850 109 1.1 1240056 23536 ? Ssl 22:00 0:07 /usr/local/bin/nginx-agent
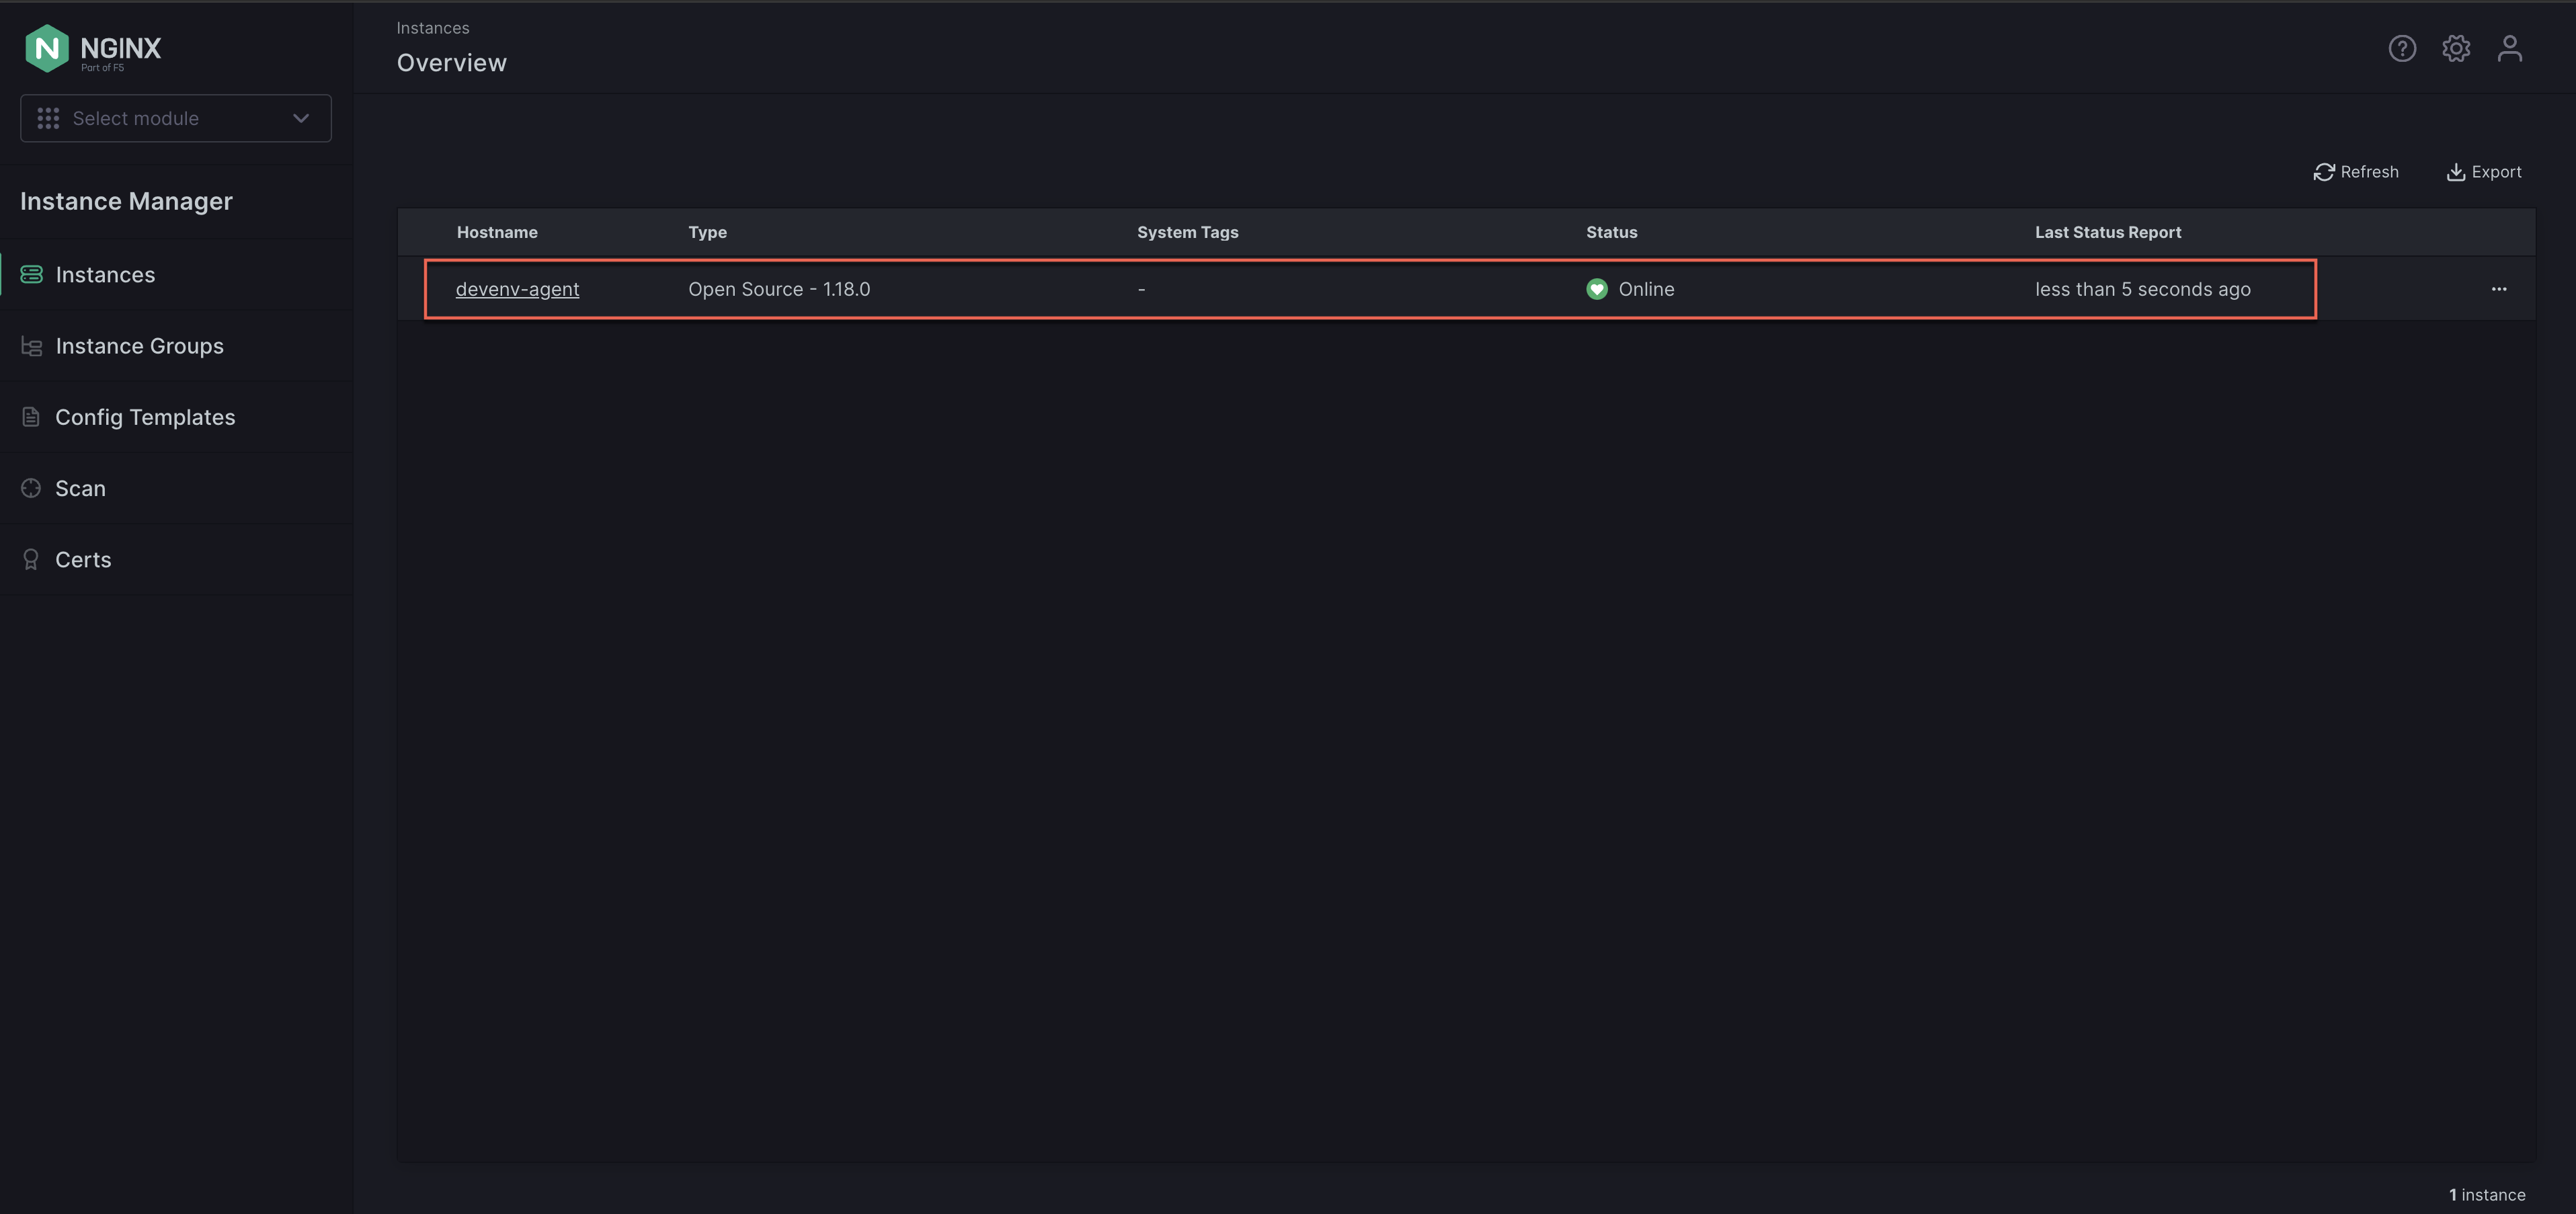
vagrant 293866 0.0 0.0 8160 736 pts/0 S+ 22:00 0:00 grep --color=auto nginx-agentOnce you’ve verified NGINX Agent is running on your data plane, you should confirm it’s registered with NGINX Management Suite. You can do this two ways:
Send an API request similar to the following example to get the inventory list. Your instance should be listed.
curl -u <user>:<password> https://<NMS_FQDN>/api/platform/v1/systems | jqIn a web browser, go to the FQDN for your NGINX Management Suite host and log in. The registered instance is shown in the Instances list.
Once you’ve verified the NGINX Agent instance is registered with NGINX Management Suite, no additional action is required for monitoring the instance.
If you need to remove the instance, ensure that the NGINX Agent service is stopped first. Then you can remove the instance from the inventory.
The following sections explain how to configure NGINX Agent using configuration files, CLI flags, and environment variables.
NGINX Agent interprets configuration values set by configuration files, CLI flags, and environment variables in the following priorities:
- CLI flags overwrite configuration files and environment variable values.
- Environment variables overwrite configuration file values.
- Config files are the lowest priority and config settings are superseded if either of the other options is used.
NGINX Agent is configured by default to connect to the NGINX Management Suite on port 443 based on the address used to download the install script. If this setting doesn’t work, you can change the
serverfields in thenginx-agent.conffile. Instructions are provided in the following sections.Open any required firewall ports or SELinux/AppArmor rules for the ports and IPs you want to use.
The configuration files for NGINX Agent are /etc/nginx-agent/nginx-agent.conf and /var/lib/nginx-agent/agent-dynamic.conf. These files have comments at the top indicating their purpose.
If you’re running Instance Manager 2.10.1 or earlier or NGINX Agent 2.25.1 or earlier, theagent-dynamic.conffile is located in/etc/nginx-agent/.
Examples of the configuration files are provided below:
example nginx-agent.conf
In the following example
nginx-agent.conffile, you can change theserver.hostandserver.grpcPortto connect to the NGINX Management Suite.If NGINX Agent was previously installed for data reporting purposes only, you may need to find and remove the following line from the NGINX Agent configuration file:
features: registration,dataplane-status
#
# /etc/nginx-agent/nginx-agent.conf
#
# Configuration file for NGINX Agent.
#
# This file tracks agent configuration values that are meant to be statically set. There
# are additional agent configuration values that are set via the API and agent install script
# which can be found in /var/lib/nginx-agent/agent-dynamic.conf.

# specify the server grpc port to connect to
server:
  # host of the control plane
  host: <NMS_FQDN>
  grpcPort: 443
# tls options
tls:
  # enable tls in the nginx-agent setup for grpcs
  # default to enable to connect with secure connection but without client cert for mtls
  enable: true
  # controls whether the server certificate chain and host name are verified.
  # for production use, see instructions for configuring TLS
  skip_verify: false
log:
  # set log level (panic, fatal, error, info, debug, trace; default "info")
  level: info
  # set log path. if empty, don't log to file.
  path: /var/log/nginx-agent/
nginx:
  # path of NGINX logs to exclude
  exclude_logs: ""
# data plane status message / 'heartbeat'
dataplane:
  status:
    # poll interval for dataplane status - the frequency the agent will query the dataplane for changes
    poll_interval: 30s
    # report interval for dataplane status - the maximum duration to wait before syncing dataplane information if no updates have been observed
    report_interval: 24h
metrics:
  # specify the size of a buffer to build before sending metrics
  bulk_size: 20
  # specify metrics poll interval
  report_interval: 1m
  collection_interval: 15s
  mode: aggregated

# OSS NGINX default config path
# path to aux file dirs can also be added
config_dirs: "/etc/nginx:/usr/local/etc/nginx:/usr/share/nginx/modules:/etc/nms:/etc/app_protect"

extensions:
  - nginx-app-protect

# Enable reporting NGINX App Protect details to the control plane.
nginx_app_protect:
  # Report interval for NGINX App Protect details - the frequency NGINX Agent checks NGINX App Protect for changes.
  report_interval: 15s
  # Enable precompiled publication from the NGINX Management Suite (true) or perform compilation on the data plane host (false).
  precompiled_publication: true
example agent-dynamic.conf
#
# /var/lib/nginx-agent/agent-dynamic.conf
#
# Dynamic configuration file for NGINX Agent.
#
# The purpose of this file is to track agent configuration
# values that can be dynamically changed via the API and the agent install script.
# You may edit this file, but API calls that modify the tags on this system will
# overwrite the tag values in this file.
#
# The agent configuration values that API calls can modify are as follows:
#    - tags
#
# The agent configuration value that the agent install script can modify are as follows:
#    - instance_group

instance_group: devenv-group
tags:
  - devenv
- testThis section details the CLI flags and corresponding environment variables used to configure NGINX Agent.
nginx-agent [flags]export ENV_VARIABLE_NAME="value"
nginx-agentBefore version 2.35.0, the environment variables were prefixed with
NMS_instead ofNGINX_AGENT_.If you are upgrading from an older version, update your configuration accordingly.
| CLI flag | Environment variable | Description |
|---|---|---|
--api-cert |
NGINX_AGENT_API_CERT |
Specifies the certificate used by the Agent API. |
--api-host |
NGINX_AGENT_API_HOST |
Sets the host used by the Agent API. Default: 127.0.0.1 |
--api-key |
NGINX_AGENT_API_KEY |
Specifies the key used by the Agent API. |
--api-port |
NGINX_AGENT_API_PORT |
Sets the port for exposing nginx-agent to HTTP traffic. |
--config-dirs |
NGINX_AGENT_CONFIG_DIRS |
Defines directories NGINX Agent can read/write. Default: "/etc/nginx:/usr/local/etc/nginx:/usr/share/nginx/modules:/etc/nms" |
--dataplane-report-interval |
NGINX_AGENT_DATAPLANE_REPORT_INTERVAL |
Sets the interval for dataplane reporting. Default: 24h0m0s |
--dataplane-status-poll-interval |
NGINX_AGENT_DATAPLANE_STATUS_POLL_INTERVAL |
Sets the interval for polling dataplane status. Default: 30s |
--display-name |
NGINX_AGENT_DISPLAY_NAME |
Sets the instance’s display name. |
--dynamic-config-path |
NGINX_AGENT_DYNAMIC_CONFIG_PATH |
Specifies the path of the Agent dynamic config file. Default: "/var/lib/nginx-agent/agent-dynamic.conf" |
--features |
NGINX_AGENT_FEATURES |
Specifies a comma-separated list of features enabled for the agent. Default: [registration, nginx-config-async, nginx-ssl-config, nginx-counting, metrics, dataplane-status, process-watcher, file-watcher, activity-events, agent-api] |
--ignore-directives |
Specifies a comma-separated list of directives to ignore for sensitive info. | |
--instance-group |
NGINX_AGENT_INSTANCE_GROUP |
Sets the instance’s group value. |
--log-level |
NGINX_AGENT_LOG_LEVEL |
Sets the logging level (for example, panic, fatal, error, info, debug, trace). Default: info |
--log-path |
NGINX_AGENT_LOG_PATH |
Specifies the path to output log messages. |
--metrics-bulk-size |
NGINX_AGENT_METRICS_BULK_SIZE |
Specifies the number of metrics reports collected before sending data. Default: 20 |
--metrics-collection-interval |
NGINX_AGENT_METRICS_COLLECTION_INTERVAL |
Sets the interval for metrics collection. Default: 15s |
--metrics-mode |
NGINX_AGENT_METRICS_MODE |
Sets the metrics collection mode: streaming or aggregation. Default: aggregated |
--metrics-report-interval |
NGINX_AGENT_METRICS_REPORT_INTERVAL |
Sets the interval for reporting collected metrics. Default: 1m0s |
--nginx-config-reload-monitoring-period |
Sets the duration to monitor error logs after an NGINX reload. Default: 10s | |
--nginx-exclude-logs |
NGINX_AGENT_NGINX_EXCLUDE_LOGS |
Specifies paths of NGINX access logs to exclude from metrics collection. |
--nginx-socket |
NGINX_AGENT_NGINX_SOCKET |
Specifies the location of the NGINX Plus counting Unix socket. Default: unix:/var/run/nginx-agent/nginx.sock |
--nginx-treat-warnings-as-errors |
NGINX_AGENT_NGINX_TREAT_WARNINGS_AS_ERRORS |
Treats warnings as failures on configuration application. |
--queue-size |
NGINX_AGENT_QUEUE_SIZE |
Specifies the size of the NGINX Agent internal queue. |
--server-command |
Specifies the name of the command server sent in the TLS configuration. | |
--server-grpcport |
NGINX_AGENT_SERVER_GRPCPORT |
Sets the desired GRPC port for NGINX Agent traffic. |
--server-host |
NGINX_AGENT_SERVER_HOST |
Specifies the IP address of the server host. |
--server-metrics |
Specifies the name of the metrics server sent in the TLS configuration. | |
--server-token |
NGINX_AGENT_SERVER_TOKEN |
Sets the authentication token for accessing the commander and metrics services. Default: e202f883-54c6-4702-be15-3ba6e507879a |
--tags |
NGINX_AGENT_TAGS |
Specifies a comma-separated list of tags for the instance or machine. |
--tls-ca |
NGINX_AGENT_TLS_CA |
Specifies the path to the CA certificate file for TLS. |
--tls-cert |
NGINX_AGENT_TLS_CERT |
Specifies the path to the certificate file for TLS. |
--tls-enable |
NGINX_AGENT_TLS_ENABLE |
Enables TLS for secure communications. |
--tls-key |
NGINX_AGENT_TLS_KEY |
Specifies the path to the certificate key file for TLS. |
--tls-skip-verify |
NGINX_AGENT_TLS_SKIP_VERIFY |
Insecurely skips verification for gRPC TLS credentials. |
Use the
--config-dirscommand-line option, or theconfig_dirskey in thenginx-agent.conffile, to identify the directories NGINX Agent can read from or write to. This setting also defines the location to which you can upload config files when using a control plane.NGINX Agent cannot write to directories outside the specified location when updating a config and cannot upload files to directories outside of the configured location.
NGINX Agent follows NGINX configuration directives to file paths outside the designated directories and reads certificates’ metadata. NGINX Agent uses the following directives:
You can configure NGINX Agent to report the following F5 WAF for NGINX installation information to NGINX Management Suite:
- the current version of F5 WAF for NGINX
- the current status of F5 WAF for NGINX (active or inactive)
- the Attack Signatures package version
- the Threat Campaigns package version
You can also configure NGINX Agent to enable the publication of precompiled NGINX App Protect policies and log profiles from the NGINX Management Suite.
To enable F5 WAF for NGINX reporting or precompiled publication, edit the /etc/nginx-agent/nginx-agent.conf to add the following directives:
# path to aux file dirs can also be added
config_dirs: "/etc/nginx:/usr/local/etc/nginx:/usr/share/nginx/modules:/etc/nms:/etc/app_protect"

# Enable necessary NAP extension
extensions:
    - nginx-app-protect

nginx_app_protect:
  # Report interval for NGINX App Protect details - the frequency the NGINX Agent checks NGINX App Protect for changes.
  report_interval: 15s
  # Enable precompiled publication from the NGINX Management Suite (true) or perform compilation on the data plane host (false).
  precompiled_publication: true
Additionally, you can use the agent installation script to add these fields:
# Download install script via API
curl https://<NMS_FQDN>/install/nginx-agent > install.sh

# Specify the -m | --nginx-app-protect-mode flag to set up management of NGINX App Protect on
# the instance. In the example below we specify 'precompiled-publication' for the flag value
# which will make the config field 'precompiled_publication' set to 'true', if you would like to
# set the config field 'precompiled_publication' to 'false' you can specify 'none' as the flag value.
sudo sh ./install.sh --nginx-app-protect-mode precompiled-publication- To enable NGINX Plus advanced metrics, follow the steps in the Install NGINX Plus Metrics Module guide.
The following SELinux files are added when you install the NGINX Agent package:
/usr/share/selinux/packages/nginx_agent.pp- loadable binary policy module/usr/share/selinux/devel/include/contrib/nginx_agent.if- interface definitions file/usr/share/man/man8/nginx_agent_selinux.8.gz- policy man page
To load the NGINX Agent policy, run the following commands as root:
sudo semodule -n -i /usr/share/selinux/packages/nginx_agent.pp
sudo /usr/sbin/load_policy
sudo restorecon -R /usr/bin/nginx-agent
sudo restorecon -R /var/log/nginx-agent
sudo restorecon -R /etc/nginx-agentMake sure to add external ports to the firewall exception list.
To allow external ports outside the HTTPD context, run:
sudo setsebool -P httpd_can_network_connect 1For more information, see Using NGINX and NGINX Plus with SELinux.
By default, communication between NGINX Agent and NGINX Management Suite is unsecured.
For instructions on how configure mTLS to secure communication between NGINX Agent and NGINX Management Suite, see NGINX Agent TLS Settings.
After you register an NGINX instance with NGINX Management Suite, the NGINX Agent will collect and report metrics. For more information about the metrics that are reported, see Overview: Instance Metrics.
NGINX Agent is a companion daemon for NGINX Open Source or NGINX Plus instances and must run in the same container to work.
See the requirements and supported operating systems in the NGINX Agent Technical Specifications topic.
See the Build Container Images topic for instructions on building container images.