Migrating from Public Preview
F5 NGINX as a Service for Azure (NGINXaaS) is now generally available. If you have created deployments under the “Public Preview” plan they will need to be rebuilt using the “Standard” plan.
Check your current plan
- Open your deployment in the Azure portal
- Open the JSON view
- look for the sku name field, it should be near the top
{
    "sku": {
        "name": "publicpreview_Monthly_gmz7xq9ge3py"
    },
}
If the SKU name starts with publicpreview or preview, you need to upgrade to the standard plan.
Rebuilding your deployment
We don’t support an in-place upgrade; you need to delete the old deployment and create a new one, which will require some downtime for your deployment. The procedure uses Azure Resource Manager (ARM) templates to minimize data entry, but some configuration elements aren’t captured in the template and need manual attention.
Gather information about the old deployment
- Open your deployment in the Azure portal.
- Note the subscription and resource group.
- Select Export template in the left navigation, and select Download at the top.
- When you use a system-assigned identity, note the roles assigned to it. You might have more roles if you use logging support or SSL/TLS certificates. To view the list of roles, select Identity > Azure role assignments.
If you have any alerts defined, those will carry over to the new deployment as long as you keep the resource group and deployment name consistent.
Important:
If you added any protected files to your deployment, those cannot be retrieved from Azure. You will need to find a local copy of the protected file so it can be uploaded to the new deployment. The portal does not provide a way to see if you are using protected files.
Delete the old deployment
-
Open your deployment in the Azure portal.
-
Select Delete.
-
Wait until your deployment is deleted.
-
If you were sending logs to blob storage with a system-assigned identity, you may have an unknown user in the access control list for the storage account. It’s safe to remove this at any time.

Create the new deployment
-
Open the deployment template you downloaded earlier and unzip it locally. You should see two files:
parameters.jsonandtemplate.json. -
Open https://portal.azure.com/#create/Microsoft.Template, Select Build your own template in the editor.
-
Select Load file, and upload
parameters.jsonandtemplate.json. -
In the resources section, change the SKU name to
standard_monthly: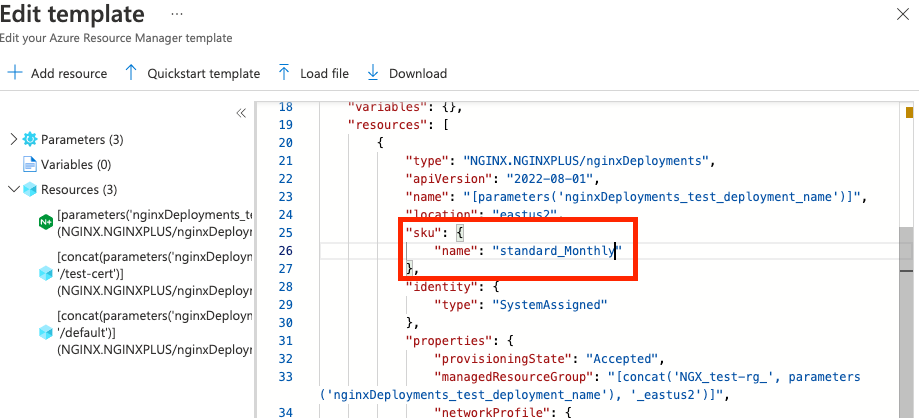
-
If you had protected files, you have two options:
-
Delete the block that contains
"type":"NGINX.NGINXPLUS/nginxDeployments/configurations". After the deployment is created, add the NGINX configuration. -
Add them to the template. Encode your protected files as base64, and add them in a
"protectedFiles"array at the same level as"files". Omitting irrelevant data, it should look like this:{ "$schema": "https://schema.management.azure.com/schemas/2019-04-01/deploymentTemplate.json#", "resources": [ { "type": "NGINX.NGINXPLUS/nginxDeployments/configurations", "properties": { "protectedFiles": [ { "content": "YOUR BASE64 ENCODED CONTENT", "virtualPath": "YOUR PATH" } ], } } ] }
-
-
Select Save.
-
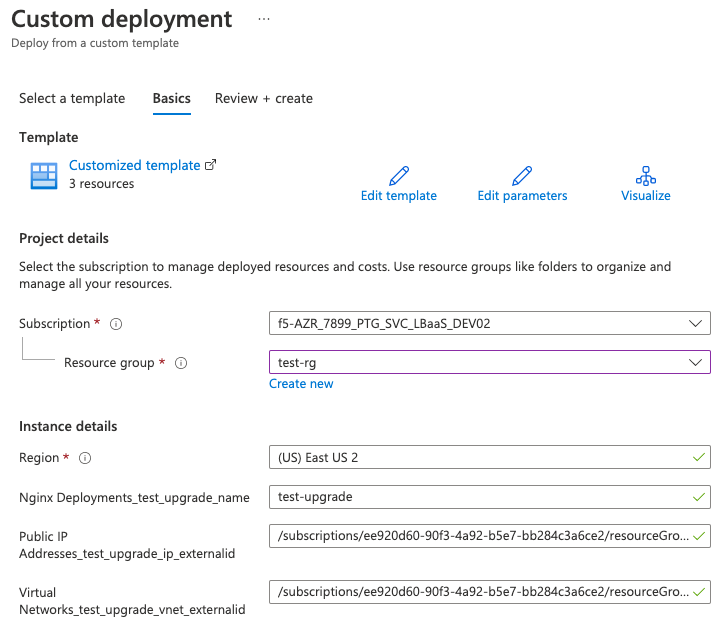
Enter the subscription and resource group from the original deployment:
 Note:
Note:
The region displayed may differ from your template. The value in the template is used, but the form always shows the region of the resource group. -
Select Review and Create.
-
You will see a warning about the terms of service. Select Create to agree and continue.
-
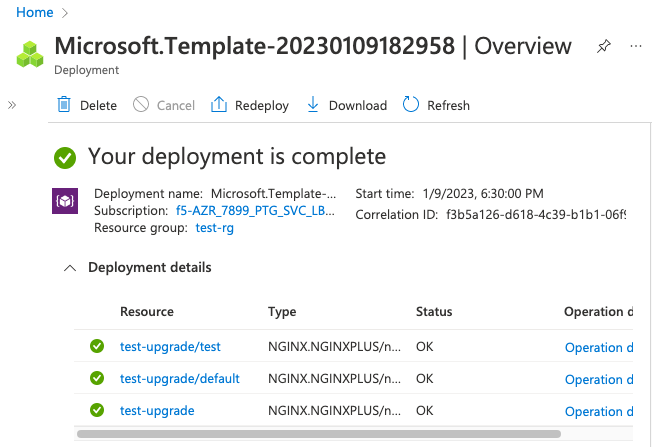
Wait for the deployment to be created.
-
If you were using a system-assigned identity, re-add the desired permissions for the new system-assigned identity